Some photos will print better than others. Many photos will only print well after editing. Here are some basic rules for picking and editing a digital photo for printing.
As a rule, digital photos look darker when they are printed. We recommend printing bright photos, photos that you took outside, and that have a lot of light in them. Here is an example of a photo that will print well:
A photo that you took at night or in a dark room like a bar or restaurant will not print well. The dark parts will appear darker, the orange and brown tones will be more intense, and it may appear fuzzy. Here is an example of a photo that will not print well:

You can use photo editing software to brighten up a dark photo for printing. For best effect, adjust the brightness and contrast in the photo until the white parts in your photo appear pure white.
You can adjust the brightness and contrast with most photo editing software.
In Photoshop, go to Image > Adjustments > Brightness/Contrast.
In Preview, go to Tools > Adjust Color and play with the Exposure and Contrast.
In Google Photos, go to Edit, then tap the dials icon to adjust the light and color.
Online you can use a tool like Be Funky.
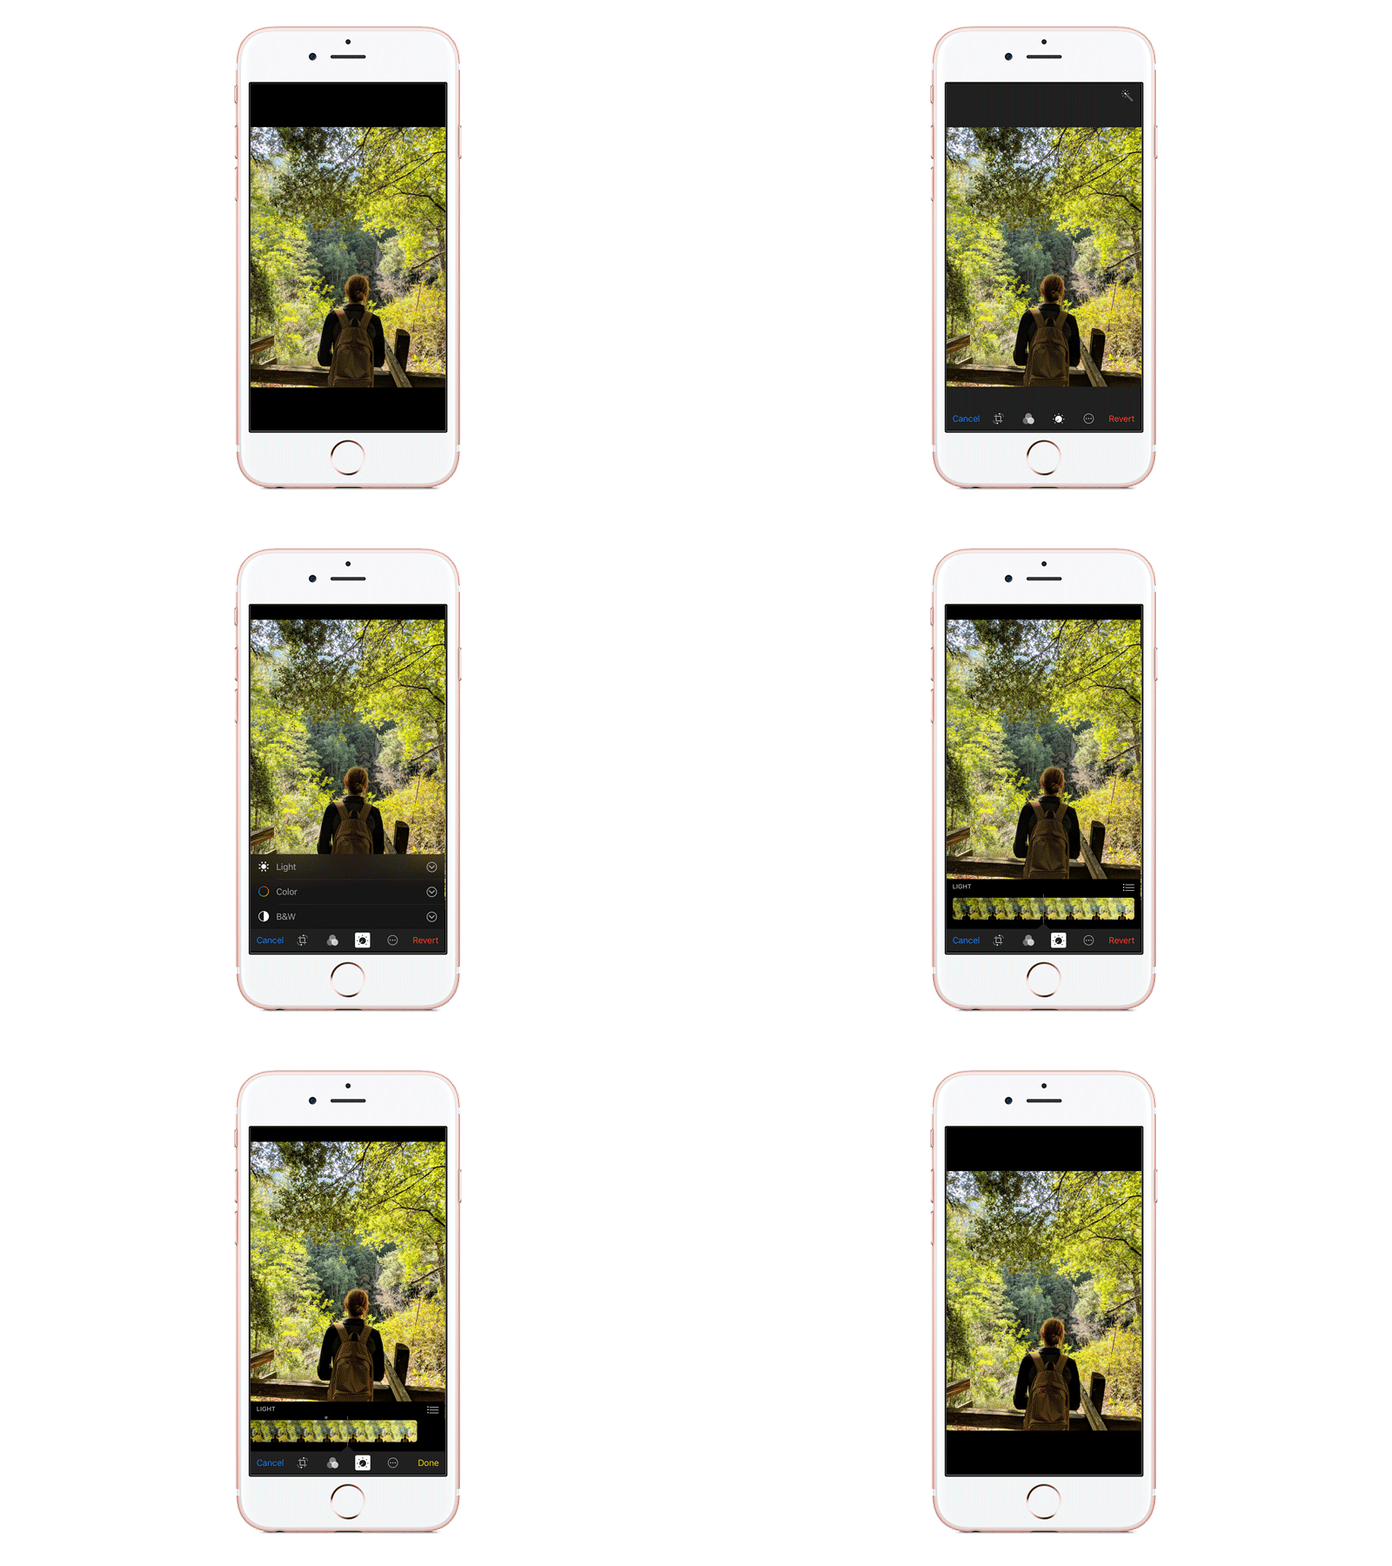
On your iPhone, tap Edit on the photo, hit the dial button, and then tap Light and drag the bar up a bit.
Our website enforces minimum image size requirements for our prints. This is because small photos generally do not look good when printed large. Find the largest version of the photo to print. If you posted the photo on your Instagram or social media, find the original image on your phone or digital camera. If you emailed the photo to yourself, find the original image. This is because social media and email clients often compress your images.
You can find more information about photo size on our How Big Can I Print It page.
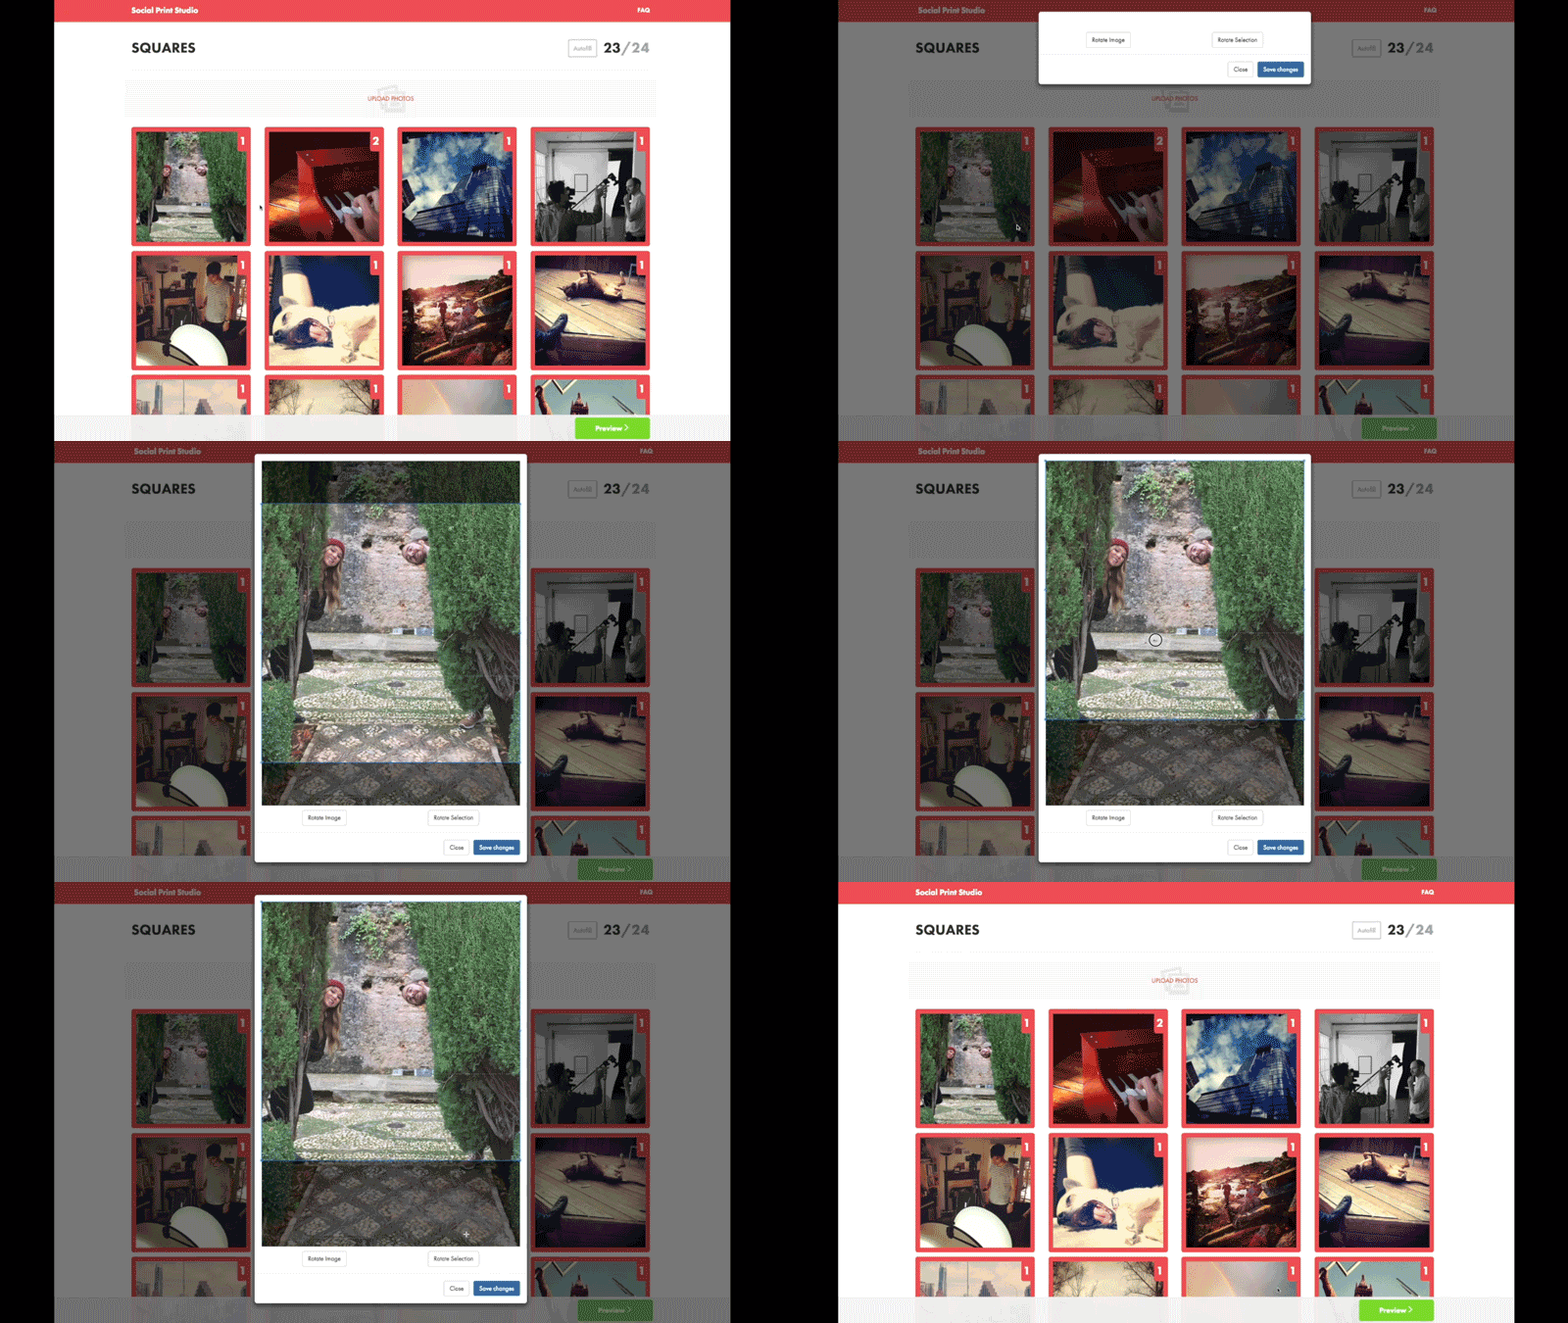
For most of our print sizes, you will need to crop your photo to fit the dimensions. We offer a native cropper for this purpose:
Good photos follow the "Rule of Thirds". This decrees that "an image should be imagined as divided into nine equal parts by two equally spaced horizontal lines and two equally spaced vertical lines, and the important compositional elements should be placed along these lines or their intersections". Source Wikipedia.
If you spend enough time looking at photos and paintings, you'll start to see it yourself.
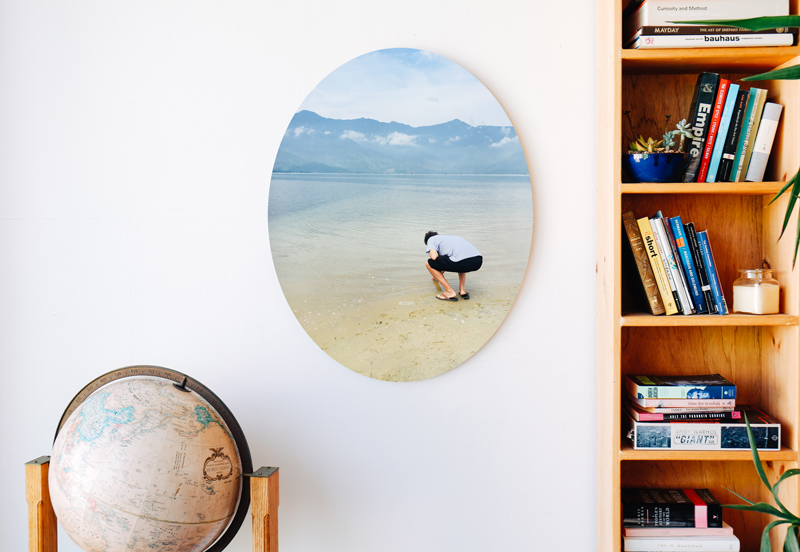
Wondering which photos to print on which product? We have some general advice...
• Wood Prints: Our Wood Prints tend to wash out photos and give them a faded and vintage effect. The wood grain shows through the lighter parts of your image. To really enhance the grainy look, adjust the colors in your image so the white parts appear pure white. These parts will print transparant on the wood print and show the grain and wood color instead. Darker photos with a lot of black and bright colors will appear more vivid on Wood Prints, though the overall effect is significantly more faded than our other print options.
• Classic Matte Prints: Expect the colors in Classic Matte Prints to be less vivid than they appear on the screen. You may want to boost the brightness.
• Large Format Prints: Our Large Format Prints have a lustre finish, so photos will appear brighter than our Classic Matte Prints, closer to traditional glossy photo prints.
• Magnets: Our Magnets are laminated, so your photos are going to look much darker than our other prints. We advise you to increase the brightness for any dark images you want to print on Magnets.
• Metal Prints: The high gloss finish of our Metal Prints makes all the colors in your photo pop and renders your image ultra vivid. You can't really go wrong with these. Print whatever you like!
Feeling nervous? Ask us how good you think your photo will print, by emailing hello@sps.io. We will be frank.